
How to Denoise Photos in Lightroom: A Guide for Photographers
Image by Ieva Marija Photography
Edited with Overland and Denoise
We’ve all been there: you bump your ISO to capture a dimly lit church wedding, a dark indoor family session, or beautiful blue-hour couples portraits. They look great on the back of the camera, but when you get to editing and pixel-peep at 100%, WOW, there’s a lot of noise.
High-ISO photos, low-light scenes, and heavily brightened shadows all produce noise, but you have many options for reducing it to deliver flawless photos for your clients. Don’t fall for the photography myth that you should always keep a low ISO. Raising ISO is a tool every photographer needs to learn, and today we have incredible tools to make those photos perfectly deliverable.
Lightroom Classic gives you several ways to denoise your photos, and its in-software Denoise AI is the best place to start for RAW files. The right tool depends on your file type and how much noise you are dealing with.
This guide goes through each method step by step, then ends with a recommended workflow so you know which one to reach for first! You’ll learn about:
Lightroom’s Denoise: one-click, machine-learning noise removal for RAW files.
Manual noise reduction sliders: Luminance and Color controls that work on any file type.
Local masks: denoise only the shadows, sky, or background.
Sharpening Masking: stop sharpening from making noise worse.
Exposure choices: prevent noise before it shows up.
External tools: send tough files to Photoshop or a dedicated denoise app.
Before You Start: Pixel Peeping*
Check your photo at 100% zoom before you touch any slider, because noise is easy to misjudge when the whole image is fit to screen. In the Develop module, press Z or click the 1:1 preview in the Navigator to zoom in, then pan to a shadow area or a smooth surface like sky.
Tips:
Photograph in RAW whenever you can. RAW files hold more data for noise reduction and are the only files Denoise AI accepts.
Run Denoise before your other edits. It creates a new DNG, and your later adjustments then apply on top of the cleaned file.
Decide how much you plan to brighten the shadows, because lifting them is what reveals the most noise.
Aim for a natural look. Pushing noise reduction too far leaves skin and textures looking waxy or plastic.
*Pixel peeping is the practice of inspecting a digital photograph at 100% magnification or greater (a 1:1 scale or higher) to scrutinize tiny technical details, sharpness, noise, or minor flaws
Image zoomed in to see the noise, which in this example appears like grain all over the image. Some images you’ll notice more noise in the shadows that looks like crunchy dust or inconsistent colors.
Use Lightroom Denoise (best for raw files)
Detail Panel in Lightroom Classic
Denoise is the fastest way to remove noise in Lightroom Classic while keeping fine detail. It analyzes the raw data and writes a cleaned copy as a new DNG, so your original file is never changed. It works on raw files only, and processing runs best on a computer with a capable GPU.
In the Develop module, open the Detail panel on the right.
Click the Denoise button. The Enhance Preview dialog opens.
Drag the Amount slider. Start around 50 and raise it for heavier noise.
Zoom the preview to 100% and compare the result against the original.
Click Enhance. Lightroom saves a new DNG next to the original, with "Enhanced-NR" added to the file name.
Fine-tune the new file with the manual sliders in Method 2 if a little noise remains.
To denoise many photos at once, select them in the Library module or the Develop filmstrip, choose Photo > Enhance, tick Denoise, set the Amount, and click Enhance. You can also right-click the selection and choose Enhance.
The enhanced DNG can be larger than your original raw file, so check your drive space before a big batch.
Denoise in use
Edited photo before and after using Denoise
Use the manual noise reduction sliders (works on any file)
Luminance and Sharpening sliders in use in the Detail Panel in Lightroom Classic
The Noise Reduction sliders in the Detail panel work on raw, JPEG, and TIFF files, and they stay fully editable. Use them for light noise, for non-raw files, or to polish a photo after Denoise.
Open the Develop module and zoom to 100% on a shadow area.
Scroll to the Noise Reduction section of the Detail panel.
Raise Color until the red, green, and blue speckles disappear. Values between 25 and 50 are usually enough.
Raise Luminance to smooth the grainy noise. Start near 20 and increase slowly, because high values soften the image.
Increase Detail under Luminance to bring back sharp edges, and use Contrast to restore some texture. Both can bring noise back, so adjust them gently.
Adjust Smoothness under Color if blotchy color remains.
Toggle the panel on and off to compare before and after.
Tip: fix color noise first. It costs almost no detail, so you can use less Luminance afterward.
Protect smooth areas with Sharpening Masking
Sharpening Masking does not remove noise, but it stops sharpening from making noise worse. Sharpening boosts every edge, including the tiny edges of grain, so a mask keeps that boost on real detail only and refines the look of your edit.
Open the Detail panel and find the Sharpening section.
Set your Amount and Radius for the sharpness you want.
Hold Alt (Windows) or Option (Mac) while dragging the Masking slider.
Watch the preview: white areas are sharpened and black areas are protected.
Raise Masking until flat areas like sky and skin turn black while edges stay white.
Release the key and check the result at 100% zoom.
Use this step last in your noise workflow, after Denoise or the manual sliders have done their work.
Sharpening Mask in use
Denoise selectively with Masks
Image by Ieva Marija Photography
Edited with Kin and Luminance Range Noise Reduction Masks
Local masks let you reduce noise only where it shows, such as dark shadows or a flat sky, so the rest of the photo stays crisp. This is the best choice when global noise reduction softens important detail.
In the Develop module, click the Masking icon below the histogram.
Click Create New Mask and pick a tool: Brush, Linear Gradient, Radial Gradient, or an AI option such as Subject, Sky, or Background.
To target shadows, choose Add > Luminance Range and click the dark areas you want to clean up.
In the mask's adjustment panel, drag the Noise slider to the right to reduce noise inside the mask.
Check the Show Overlay option to confirm the mask covers the right areas.
Refine the mask with the Subtract option if it spills onto detail you want to protect.
A common pairing is to apply moderate global noise reduction, then add extra Noise reduction through a Sky or Shadows mask.
Masking Panel with the Range - Luminance Range options
Luminance Range Mask in use
Prevent noise with smarter exposure choices
One way to fight noise is to avoid creating it, because heavy brightening in Lightroom Classic is what exposes most noise. Underexposed photos have little data in the shadows, so lifting them stretches that thin data and magnifies grain.
Expose correctly in camera. A slightly brighter exposure, without clipping highlights, gives cleaner shadows than fixing a dark image later.
Use the lowest ISO the scene allows, and open the aperture or slow the shutter before you raise ISO. That said, sometimes you have your shutter speed and aperture right where you want them, so adjust ISO as needed to get the exposure correct.
When editing, avoid dramatic Shadows and Blacks lifts. If a photo needs them, plan on extra noise reduction.
Brighten only the areas that need it with a mask, instead of raising Exposure on the whole frame.
Review your result at 100% zoom after any major brightness change, since noise often appears only then.
Exposing correctly in camera is the best way to avoid massive noise reduction later, and sometimes that means raising ISO to the appropriate level. You’ll get less noise with the correct ISO than with massive exposure lifts in post-production.
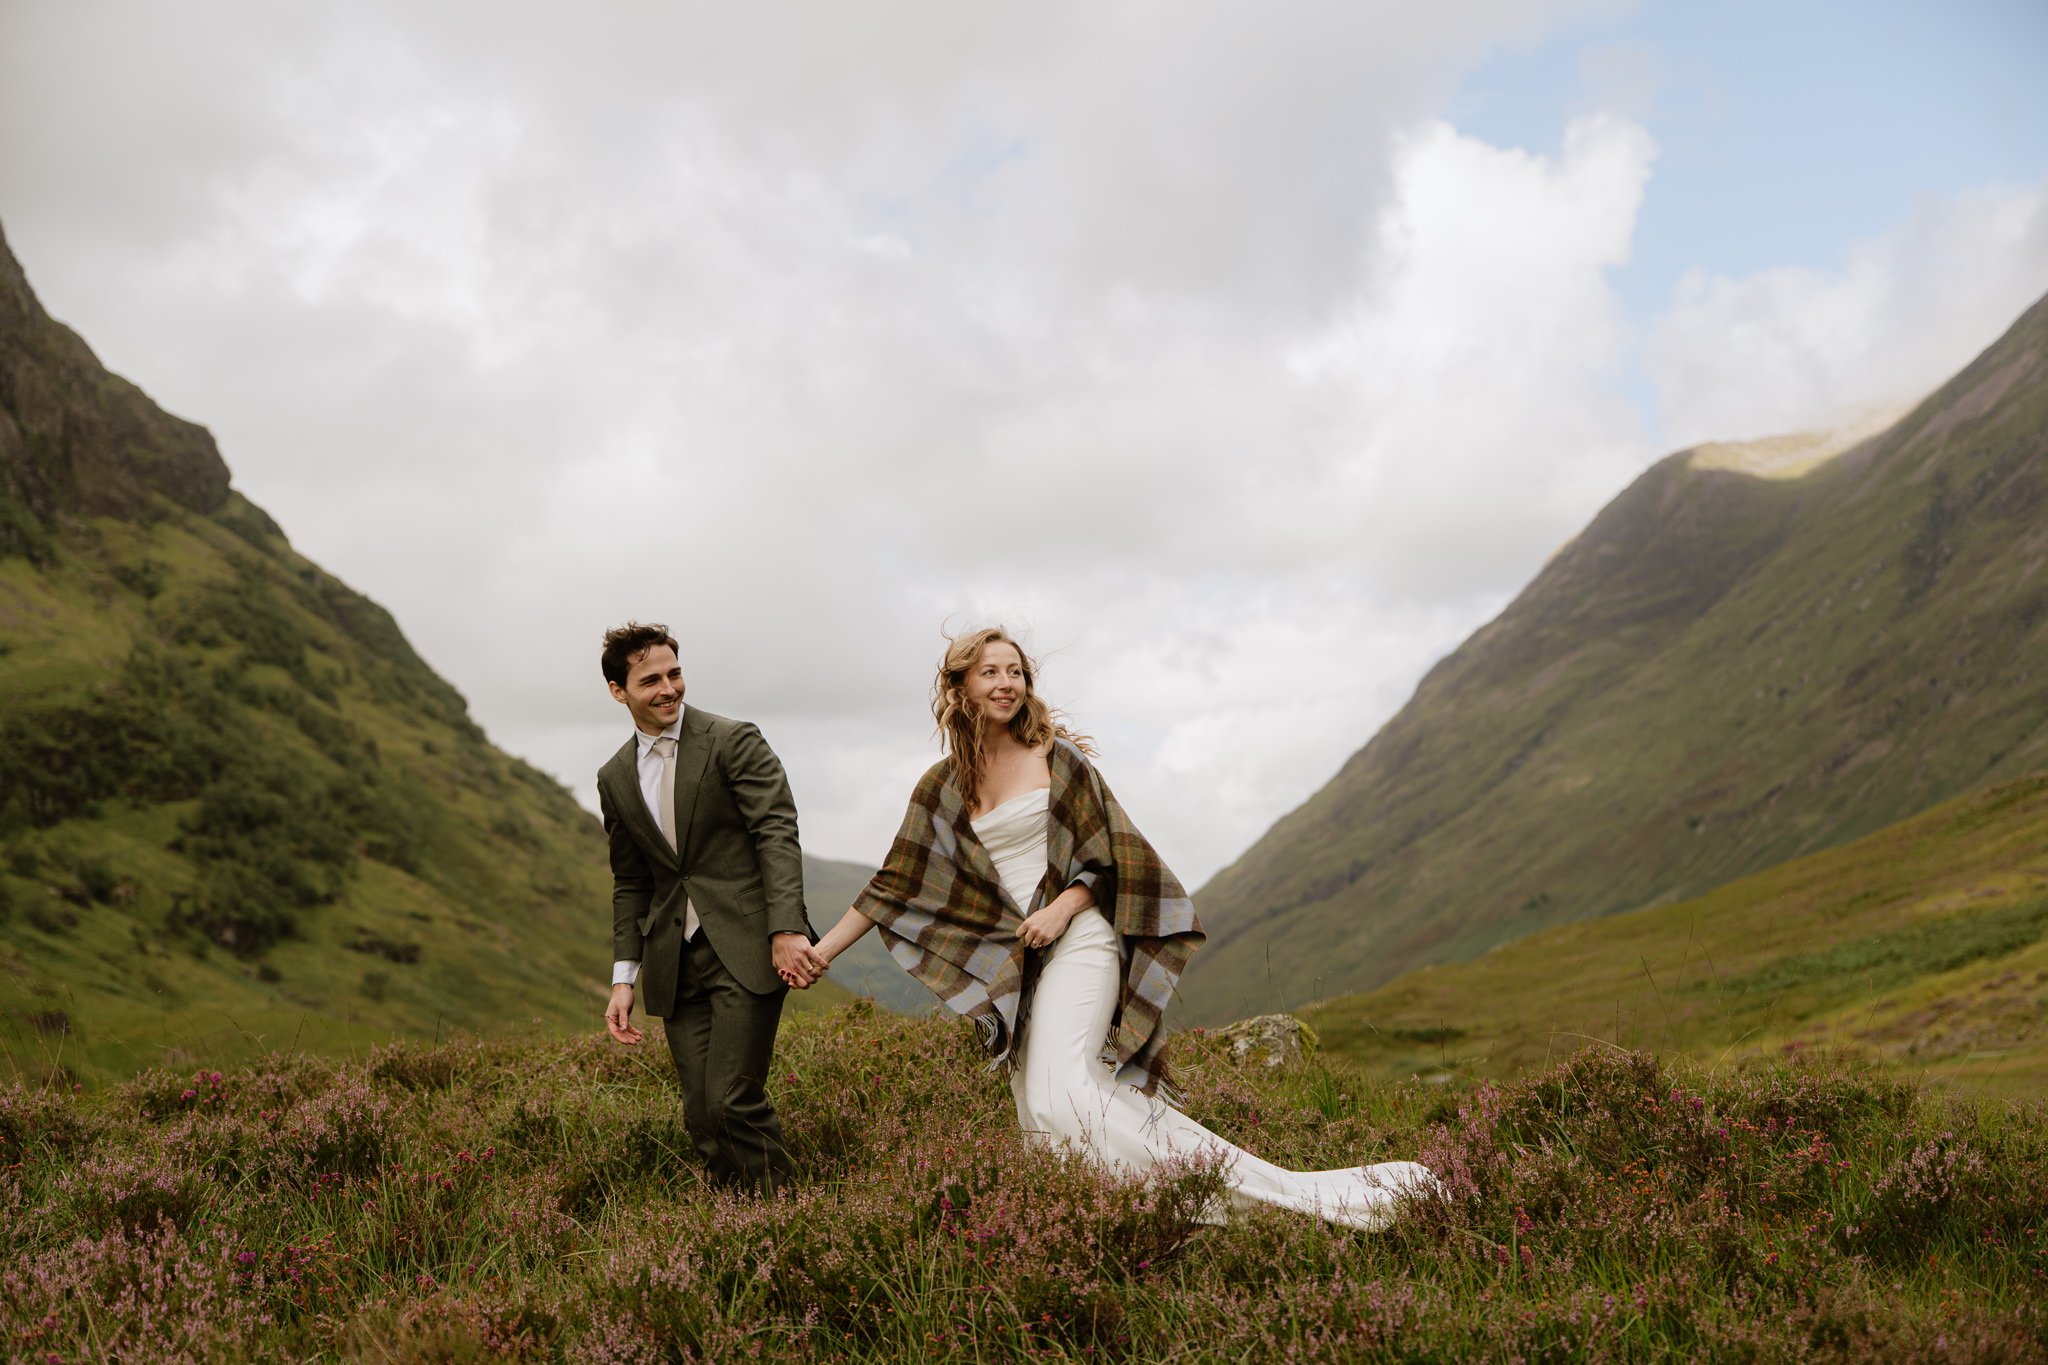
Image by Ieva Marija Photography
Edited with Overland
Send tough files to external denoise software
External tools are worth trying for extreme high-ISO files that Lightroom Classic cannot fully clean. Popular choices include the Camera Raw filter in Photoshop, DxO PureRAW, Topaz Photo AI, and ON1 NoNoise AI.
Right-click the photo in Lightroom Classic and choose Edit In, then pick Photoshop or your installed plug-in.
Choose Edit a Copy with Lightroom Adjustments, and select TIFF at 16-bit so you keep maximum quality.
Apply the noise reduction in the external app, then save or close the file.
The edited copy returns to your Lightroom Classic catalog, stacked next to the original.
Make final tweaks, such as sharpening and masking, back in Lightroom Classic.
Some raw-based tools, such as DxO PureRAW, work on the original raw file instead. You process the raw files in the tool first, then import the cleaned DNG files into your catalog.
External tools create extra files and add steps, so reserve them for the photos that really need it.
Prefer to watch a video about denoising in Lightroom? Watch our guide on YouTube!
Which method should you use?
For raw files, start with Denoise AI; for JPEGs and light noise, use the manual sliders.
A simple workflow that works for most high-noise photos:
Run Denoise on raw files first.
Make your normal edits, keeping shadow lifts modest.
Add a light touch of Luminance and Color noise reduction if any noise remains.
Use a mask for extra cleanup in shadows or sky.
Sharpen with the Masking slider to protect smooth areas.
Send only the worst files to an external tool.
How to Find and Use Denoise in Lightroom CC
Open your photo, go to the Detail section in the Edit panel, and click the Denoise button.
Use the intensity slider to adjust the amount of noise reduction applied (typically ranging from 0 to 100).
Works on raw files (such as Bayer, X-Trans, Apple ProRaw, and Linear DNG), but is not supported for standard JPEGs, TIFFs, or PNGs. For non-raw files, you must use legacy manual noise reduction controls.
Batch Processing: You can apply Denoise across multiple selected raw images by syncing or copying and pasting the Denoise setting
You can denoise photos in Lightroom Classic with a mix of AI, sliders, masks, and smart shooting habits, and most photos need only the first two. Start with Denoise AI on your next high-ISO raw file, then fine-tune with the manual sliders and a mask where needed.
Frequently Asked Questions:
Lightroom Export Settings
-
Use JPEG format with quality set to 80-90%. Social platforms compress all images regardless of quality, so going higher just creates unnecessarily large files. Always export in sRGB color space since most platforms don't manage color properly and wider gamuts like Adobe RGB can appear dull or shifted when uploaded.
-
The issue is usually your export settings, not your editing. Instagram, Facebook, and similar platforms compress every image you upload. If you're using the wrong color space (like Adobe RGB instead of sRGB) or incorrect sizing, your image doesn't survive the platform's compression well. Use sRGB, size to the platform's long edge (1080px for Instagram feed), and output sharpening set to Screen with Standard amount.
-
Use sRGB for both web and social media. Most websites and social platforms don't manage color properly, so Adobe RGB and other wider color spaces can shift or appear dull. Adobe RGB is only recommended for print when your lab specifically requests it. sRGB is the standard for screen-based delivery.
-
For web and social media: use 72 ppi. For print: use 300 ppi (240-300 ppi is acceptable for large prints viewed from further away). The ppi setting doesn't affect how images display on screens, but 72 ppi is the web standard convention. For print, higher resolution ensures sharp, quality output on paper.
-
Export at 2000-2500px on the long edge to cover most display sizes, including retina screens. If your site has zoom or lightbox features, size up to 3000px. Use JPEG format with quality 70-80% (many website builders optimize further on upload), sRGB color space, and 72 ppi resolution. Proper sizing improves page speed, which affects SEO and user experience.
-
For print, use TIFF (16-bit) or JPEG Quality 100 for the highest quality. Export at native resolution without resizing. What you export is exactly what appears on paper. Use 300 ppi resolution, and check with your lab about color space preferences (many want Adobe RGB, others sRGB). Skip resizing unless your lab specifies exact pixel dimensions. Consider using Soft Proofing with your lab's ICC profile before exporting to catch color issues on screen.
WHAT TO READ NEXT? → Lightroom Export Settings: A Step-by-Step Field Guide for Photographers